Ford Capri Paint Codes & Original Colours: The Complete Reference
Every factory Ford Capri colour and paint code, Mk1 through Mk3. From Daytona Yellow to Brooklands Green, with paint mixing notes from a working classic Ford respray specialist.
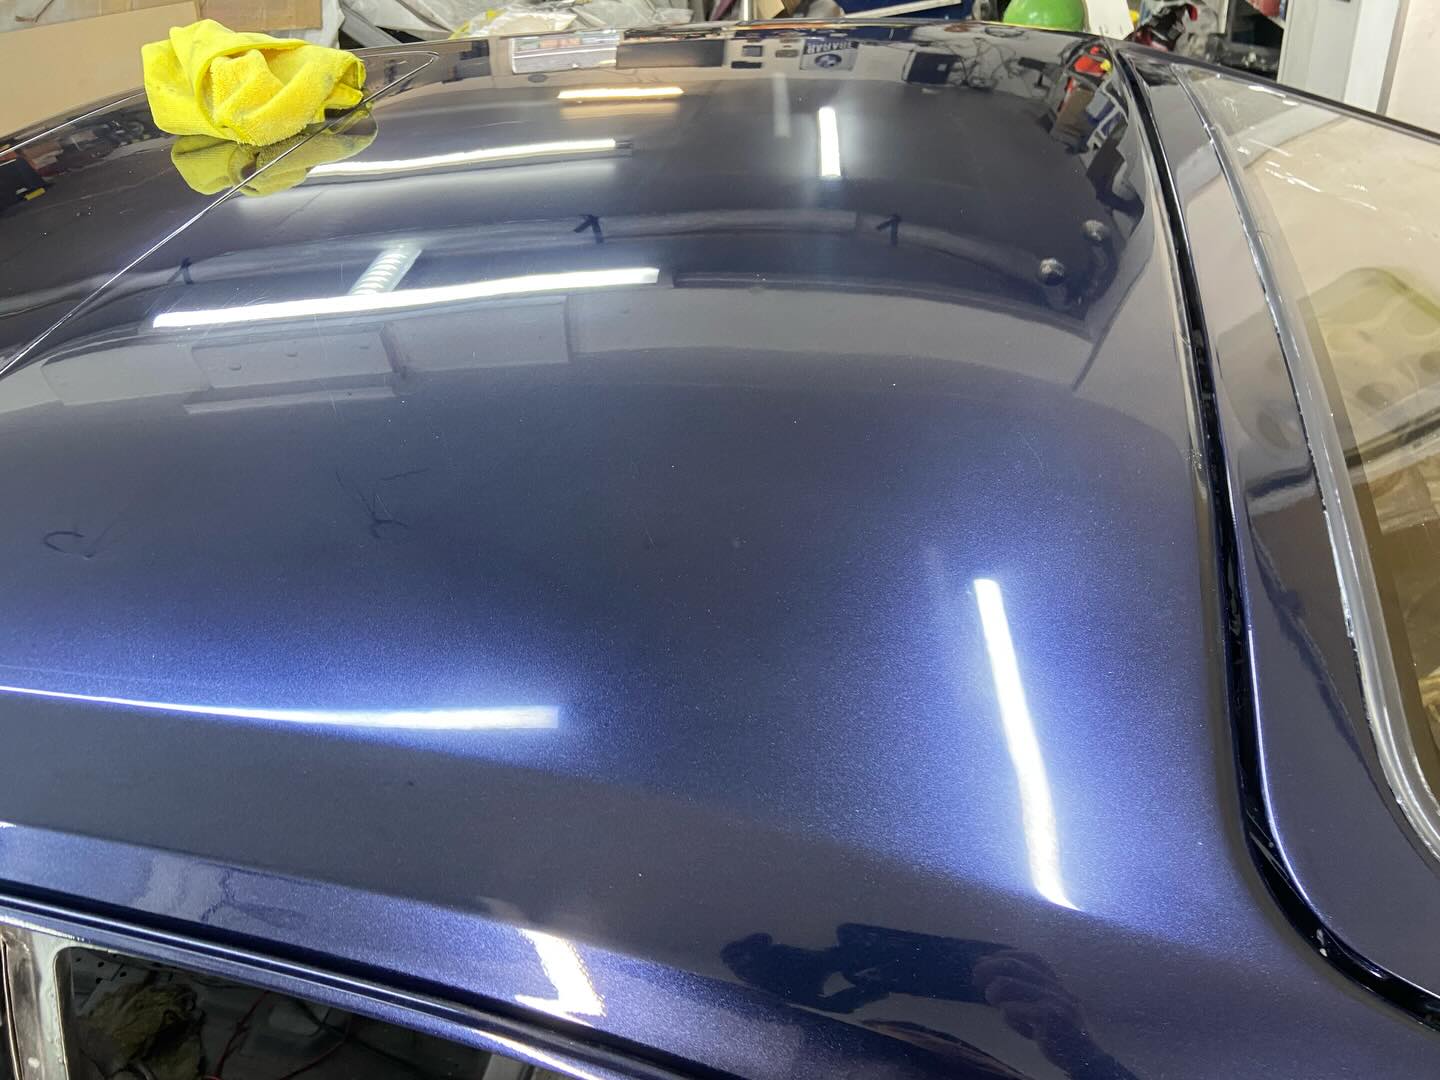
There’s no question I get asked more often than “what’s the right colour for this car?” Customers turn up with a stripped-back Capri shell and a vague idea of what they think it looked like in the seventies. Some want originality. Some want a change. Almost none of them know where to find the answer to what their car actually left the factory wearing. As a working classic Ford respray specialist in Wicken, just outside Milton Keynes, I’ve spent enough time with paint codes, colour cards and faded panels to build up a reference I wish I’d had when I started. This guide walks through the factory Capri palette generation by generation, the special-edition shades that matter most, and the practical realities of getting these colours right in a modern booth. For the actual Ford-to-modern code conversion on your specific car, take the VIN-plate code to Paintman Paints — their Capri database is the reference I rely on rather than risking a wrong number in print.
Why Getting the Colour Right Matters More Than the Colour Itself
The single biggest mistake I see is owners deciding what colour their car “should” be without checking what it actually was. A Capri respray in the wrong colour is not an upgrade. On most cars, originality is the single biggest contributor to value after metalwork condition, and a documented original colour adds anywhere from £1,500 to £5,000 over a “nicely finished” non-original respray on the same shell. On the rare cars — Brooklands, RS3100, Tickford — that gap can be five figures. The full value-by-spec breakdown sits in my 2026 Ford Capri values guide, and the model-by-model special-edition rundown is in the pillar Ford Capri special editions guide.
The other reason it matters: factory colours are usually correct for the car. Ford spent money getting the trim, the wheels and the badging to harmonise with each launch colour. A 280 Brooklands in metallic blue looks wrong even if the paint job is technically perfect, because the gold pinstriping and the wheel finishes were designed against Brooklands Green. A Mk1 3000GT in modern pearl white looks wrong because the bumper chrome and the badging were designed against Ermine. Originality isn’t just paperwork — it’s how the car was meant to look.
How to Find Your Capri’s Original Colour
Five places to look, in order of reliability.
- The VIN plate on the bulkhead or scuttle. On Mk1 and Mk2 cars this is a small alloy plate riveted to the inner wing or the bulkhead in the engine bay. On Mk3 cars it’s a black plastic plate, usually on the bulkhead near the brake servo. Either carries the chassis number and the paint code as a two- or three-digit alphanumeric stamp. This is the primary reference.
- The door tag or Cologne build plate. Cologne-built cars also carry a riveted alloy plate on the door pillar or the inner front wing showing the build number, paint code and trim code. This is your cross-reference. If the door tag and the VIN plate disagree, something has been changed — investigate before you respray.
- The boot floor markings. Many Capris had paint code stamps in the boot under the spare wheel cover, or chalked markings on the inside of the boot lid. These survive longer than you’d expect because they sat dry under the spare. Useful as a third reference.
- Factory stickers and assembly markings. On strut towers, inside the wings, and on the underside of the bonnet, there are often original factory stickers and chalk marks showing trim, colour and build sequence. Most have been lost to forty years of weather and bodywork, but on well-preserved cars they survive.
- The Capri Club International register or Paintman Paints. Ford UK doesn’t issue the kind of paid Heritage Certificate that BMIHT runs for Austin, MG, Triumph and the rest, so the verification route on a Capri is different. The Capri Club International register holds chassis-level build data for documented special editions, including original colour. For code-to-modern-paint conversion, Paintman Paints hold the Ford-to-current paint conversions and mix to the original from the VIN code. For any restoration where originality matters, these are the references that settle arguments.
One important note: a car’s current colour means nothing. By the time a car reaches me for a respray, it’s often been painted three or four times in its life and the visible colour may bear no relation to the factory original. Always work from the VIN plate or your club registry entry, not from what’s currently on the car.
Reading the Ford Colour Code
Ford UK used a two-character paint code stamped on the VIN plate. The system changed slightly over the model’s lifespan but the principle is the same — a letter or letter-number combination identifies the paint, with separate codes for the upper and lower paint on two-tone cars. On Cologne-built Capris (most Mk3 specials), the code is typically a three-character system because Ford Germany used a different scheme.
Two practical points. First, the VIN plate code is the Ford code — not the paint manufacturer’s mixing code. You’ll need to cross-reference the Ford code to a modern paint code (PPG, Glasurit, RM, ICI/Nexa) to get the actual mixing recipe. Specialist classic-car paint mixers like Paintman Paints hold these Ford-to-modern conversions for every Capri colour and will mix to the original code on demand. High-street factors will struggle — go to a specialist. Second, the codes are case-sensitive and position-sensitive on the plate — “EB” is a different colour from “BE”. Always photograph the plate and read it carefully. (If your car isn’t a Ford, the same principles apply — my general guide on how to find your car’s paint code covers where every make hides it.)
Mk1 Capri Colours (1969 to 1974)
The Mk1 palette was bold by today’s standards. Ford UK leaned into the late-sixties colour mood — yellows, deep reds, oranges, vivid blues, and the inevitable selection of beiges and creams. The most desirable colours today are the brightest ones; ironically, in period these were often the slowest-selling.
- Daytona Yellow — the headline Mk1 colour for the sporting trims and now the most photographed Capri colour.
- Sebring Red — the standard performance red. Used throughout Mk1 production.
- Olympic Blue — a deep mid-blue used on Mk1s, particularly on RS3100s.
- Ermine White — the standard white, slightly creamy under direct light. The most-produced colour across all Mk1 trims.
- Modena Green — a dark green, used on RS3100 and 3000GXL.
- Stardust Silver — early metallic silver, used from the facelift onwards.
The Mk1 palette also included Roman Bronze, Sahara Beige and a small handful of other earth tones plus a few short-lived metallics. For any specific car, always work from the VIN-plate code and let Paintman Paints confirm the exact shade — period colour names get confused on these cars and several short-run colours don’t appear in popular references at all.
The non-metallic Mk1 colours are easier to match today because the technology has improved and the colours themselves were straightforward single-stage acrylic enamels. The metallics — Stardust Silver, Cosmos Blue — are harder because the original metallic flake size and orientation differs from modern bases. Expect a competent painter to spend longer on a metallic match than a solid.
Mk2 Capri Colours (1974 to 1978)
The Mk2 palette shifted with the mid-seventies — more browns, more golds, more earthy tones. The Mk2 is also the Capri generation where period colour reproduction is hardest, because cameras of the era struggled with the metallics and very few period photos accurately represent the cars’ actual colour.
- Diamond White — replaced Ermine. Cleaner white, less cream.
- Signal Yellow — brighter than Daytona, used on sport trims.
- Roman Bronze — metallic gold-brown. Period-correct for many Mk2 Ghias.
- Strato Silver — replacing Stardust. A cleaner, finer-flake metallic silver.
- Solar Gold — pale metallic gold, common on Ghia trims.
- JPS black or white — the John Player Special launched in 1975 in both black and white finishes (the black cars are the better-remembered ones; white JPS cars are scarcer). Either base colour carries the specific gold coachlines and badging that define the model.
One thing to know about Mk2 metallics: the original lacquer protection was thin compared with modern systems, and forty years of UV has shifted these colours significantly on most surviving cars. A “factory Roman Bronze” Capri today is typically a deeper, more chocolate shade than the showroom original. If you’re matching to your own car as-is, expect a discrepancy with the official code.
Mk3 Capri Colours (1978 to 1986)
The biggest section because the Mk3 ran for eight years and the palette evolved twice during production. I’m grouping by colour family rather than year here — chase the specific year against the Ford code if you need year-correct accuracy.
Whites and Silvers
- Diamond White — carried over from Mk2, continued throughout Mk3.
- Strato Silver — a finer metallic silver that became the dominant Mk3 silver from 1981. Used heavily on Injection trims.
- Mercury Grey — a metallic mid-grey introduced 1983. Common on Laser-era cars.
Reds
- Sunburst Red — the bright solid red of the early Mk3. Used heavily 1978 to 1981.
- Cardinal Red — a slightly deeper solid red from 1982. Used as a lower colour on Calypso two-tones.
- Rosso Red — late-Mk3 solid red.
Greens
- Crystal Green — the standard metallic mid-green. Used on Injection Specials and various trim cars.
- Forest Green — a darker metallic green, less common.
- Brooklands Green — the 280 Brooklands only. A dark metallic green with a distinct blue undertone in direct sunlight. All 1,038 UK Brooklands were finished in this colour and no other UK Mk3 Capri ever wore it. Take the VIN-plate paint code to Paintman Paints for the modern mixing reference. The unique colour is part of what gives the model its identity, which is why I cover it in detail on the dedicated Brooklands and 280 guide.
Blues
- Caspian Blue — a mid-blue metallic. Common Mk3 blue.
- Pacific Blue — darker metallic blue.
- Titan Blue — used as a Calypso two-tone upper colour over Strato Silver.
- Cosmos Blue — Mk3-era metallic mid-blue, appears in the late-70s/early-80s Ford palette.
Blacks and Specials
- Ebony — the standard solid black.
- Calypso two-tone combinations — Forest Green over Crystal Green, Graphite Grey over Strato Silver, Cardinal Red over Strato Silver and Titan Blue over Strato Silver are the documented Calypso pairings. Always confirm the exact upper/lower codes from the VIN plate and the Capri Club International registry for any individual car.
The Two-Tone Schemes
Several Mk3 specials had factory two-tone paint, which adds a layer of complexity to any restoration. The Calypso and Cabaret editions were the main two-tone Capris — typically a darker upper body colour over a lighter lower body, separated by a horizontal pinstripe at the swage line.
If you’re restoring a two-tone car: confirm the upper and lower codes separately from the VIN plate or club registry entry, get the swage-line pinstripe colour confirmed (it’s a separate paint code on most cars), and budget for the extra masking work in the booth. A two-tone respray takes around 30% longer than a single-colour respray because the paint has to be laid in two sessions with masking between, plus a third for the pinstripe if applicable.
Modern Paint Matching the Old Colours
This is the section that comes from the booth rather than the books. Original Capri paint was single-stage acrylic enamel — pigment and resin mixed in one application, sprayed and baked. Modern automotive paint is basecoat-clearcoat — a thin pigmented base sprayed under a clear protective top layer. The two systems look subtly different even when the colour itself is matched exactly.
What you’ll notice with a modern 2K respray in an original colour:
- The colour will look “wetter” and deeper than the original because of the clearcoat depth. Brooklands Green in modern 2K is more lustrous than the same code in original acrylic. This is usually seen as an improvement but it isn’t strictly authentic.
- The metallics will appear slightly different under low light because modern base coats use different flake sizes and orientations. The original Strato Silver had a coarser flake than modern equivalents and the same code laid in modern paint can look “finer”.
- The finish is harder and more UV-resistant than the original. A modern 2K respray properly applied should hold colour for 20 years; the original acrylic typically faded noticeably within 5 to 10.
If you want absolute period authenticity — single-stage acrylic, period flake — it can be done, but it costs more, the paint is harder to source, the application is harder to get right and the finish is less durable. Most customers, including most concours-level restorers, accept modern 2K as the right compromise. The colour is correct. The finish is better. The paint will outlast them.
Brand-wise, I use PPG, Glasurit and RM depending on what the customer wants and what’s on the shelf — supplied through Paintman Paints for the classic Ford-specific mixes that aren’t in the standard databases. All three can mix any factory Ford colour to spec given the right code. None of them are “better” in any absolute sense — what matters is the painter knowing the system, applying it consistently and prepping the metal properly underneath. There’s no paint brand on earth that will save a respray over poor metalwork or incorrect prep, which is why I cover the prep side in detail in my guide to classic car paintwork problems.
Repainting in a Non-Original Colour: Should You?
Honest answer: it depends on the car. For a Brooklands or a Tickford or an RS car, I’d say no. The value loss from a colour change on those cars is real and significant, and the trim, badging and interior were designed around the original shade. A Brooklands in any colour other than Brooklands Green looks slightly wrong even when the paint is gorgeous. The Capri special editions guide explains why these specific cars are so dependent on factory-correct colour for value.
For a standard 1.6 or 2.0 Mk3, a 2.0 Laser, a base 1300 Mk1 — the colour change argument is much more interesting. These cars are not collector pieces; they’re cars to enjoy. If you want yours in a custom blue or a deep maroon or anything else, the value loss is small enough to be irrelevant against the pleasure of owning the car you actually want. The Brooklands I restored for one of my customers ended up in a custom VW blue metallic rather than the original Brooklands Green — and you can see it in the Brooklands case study. The owner went into it knowing he was sacrificing some originality value for a car that suited him better. It looks beautiful.
The middle ground is “period correct but not original to the car”. A Mk3 2.8 Injection sprayed in Strato Silver when it was originally Cardinal Red is still a Capri in a colour Ford offered in that year. The value impact is minimal, the car looks right, and you’ve got the colour you want. This is the compromise I see most often, and it works well.
Spec Your Capri Respray Properly — A Checklist
The practical takeaway. If you’re commissioning a respray, here’s what to confirm with your painter before any paint touches the car.
- Colour code confirmed. From VIN plate, club registry entry or your written brief. Get the Ford code and the modern paint manufacturer’s matching code in writing.
- Primer system specified. Etch primer over bare metal, 2K filler primer over body filler, weld-through primer on all welded seams. The primer choice affects long-term durability more than the topcoat does.
- Top-coat type specified. Basecoat-clearcoat (2K) is standard. Single-stage acrylic if you want period authenticity. Confirm number of coats and clear thickness.
- Finish level. Bare-metal full strip, panel-off respray, or blow-over? These are three different jobs at three different price points. Don’t accept “we’ll see how it looks” — get the scope agreed.
- Prep grade. What grit will the panels be wet-sanded to before paint? What grit for the clear once it’s down? A concours finish needs 1500/2000/3000 grit wet sanding and machine polishing of the cured clear. Anything less is a normal job at normal money.
- Inner panels and shut lines. Will the door jambs, inside the bonnet, boot lid and around the door shuts be painted to the same standard as the outer panels? On a full restoration this should be a yes. On a budget respray it often isn’t, and the unpainted inner edges give the job away.
- Bodyshell or panels? A bodyshell respray with the doors and bonnet on means you’ll see paint shadow at the shut lines forever. A proper panel-off respray is the standard for classic Ford restoration work.
- Cure time and reassembly. Modern 2K wants two to three weeks to cure properly before polishing and refitting. Rushing this step is the most common cause of paint problems six months down the line.
The difference between a £4,000 respray and a £12,000 respray on the same Capri shell is almost entirely in these specifications. The paint cost itself is a small fraction of the total. The labour, the prep grade, the panel-off approach and the cure time are where the money goes.
The colour is the easy bit. The paint mixing is now a software problem solved by every decent supplier. What separates a good Capri respray from a bad one is the prep underneath the paint and the time given to the finish on top. Both of those are cheaper to specify than to fix.
Thinking About a Capri Respray?
I run a one-man workshop in Wicken, just outside Milton Keynes. I do custom resprays and full bare-metal restorations on classic Fords, with the metalwork done in-house alongside the paint. If you’ve got a Capri that needs paint — whether it’s a full strip-and-respray, a targeted panel respray, or a colour change you’ve been wanting for a decade — I’d be happy to take a look and talk through what’s involved.
WhatsApp me some photos, your VIN plate code if you have it, and any colour preference. I’ll give you a straight assessment of what’s needed, what the colour will need to be specified as, and what the realistic finished job will cost. No pressure, just an honest opinion from someone who paints these cars for a living.