Can You Respray Just One Panel on a Car?
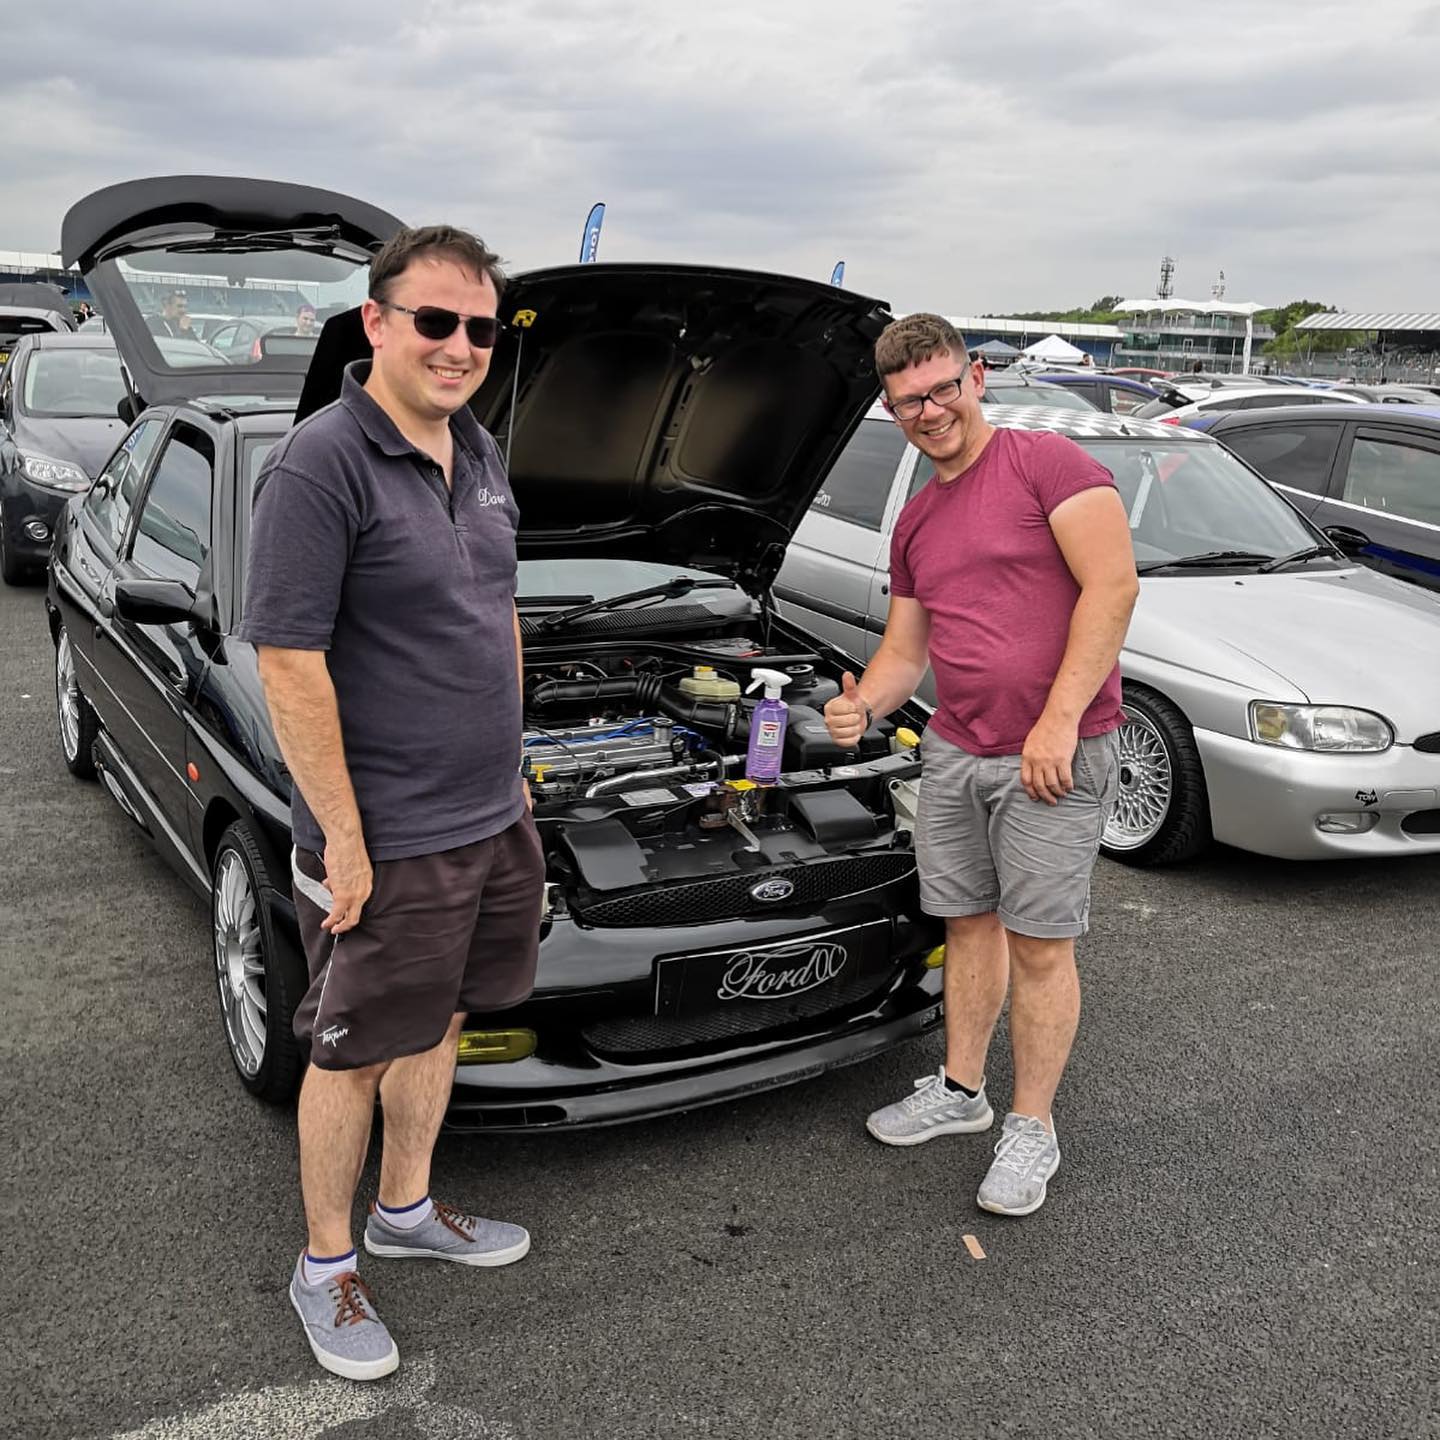
Yes – and it's one of the most common jobs I do. Alex at Top Touch Coachworks near Milton Keynes explains what's involved in a single panel respray, how colour matching works, and when it makes more sense than a full respray.

Short answer – yes, absolutely. You don’t have to respray the whole car just because one panel looks rough. A single panel respray is one of the most common jobs I do at my workshop near Milton Keynes, and when it’s done right, you shouldn’t be able to tell which panel was resprayed.
But there’s a bit more to it than just spraying one panel and calling it done. Here’s what’s actually involved and what you need to know before going ahead.
When Does a Single Panel Respray Make Sense?
A panel respray is the right call when the damage is limited to one area and the rest of the car’s paintwork is in decent shape. Common reasons people come to me for a single panel job:
- A keyed door or wing – deep scratches that go through the clear coat and into the base colour
- A dented panel that’s been repaired – once the dent’s been pulled or filled, it needs painting to match
- Localised rust – a patch of rust on one panel that’s been cut out and welded, now needs finishing
- A scuffed bumper – car park knocks, bollard scrapes, the usual
- Lacquer peel on one panel – the clear coat’s failed on a bonnet or roof but the rest is fine
- A replacement panel – you’ve fitted a new wing or door and it’s come in primer or the wrong colour
If any of that sounds familiar, a single panel respray is usually all you need. No point paying to spray the whole car when the problem’s only in one spot.
What’s Actually Involved?
People sometimes assume a panel respray is a quick job – tape it off, spray it, done. It’s not. The process is basically the same as a full respray, just on a smaller scale:
- Prep the panel – sand back the damaged area, feather the edges so there’s no hard line between old and new paint. If there’s rust or filler work needed, that gets done first.
- Prime it – a proper high-build primer goes on, then gets flatted smooth. This is what gives you a clean, even surface to paint onto.
- Colour match – the paint gets mixed to match your car’s exact colour code. On classic cars or cars that have faded over the years, I’ll adjust the mix to match how the paint actually looks now, not just what the code says it should be.
- Spray – base coat goes on in the spray booth, built up in thin, even layers. Then clear coat on top.
- Blend – this is the important bit. The new paint gets blended into the adjacent panels so there’s no visible edge where the new paint meets the old.
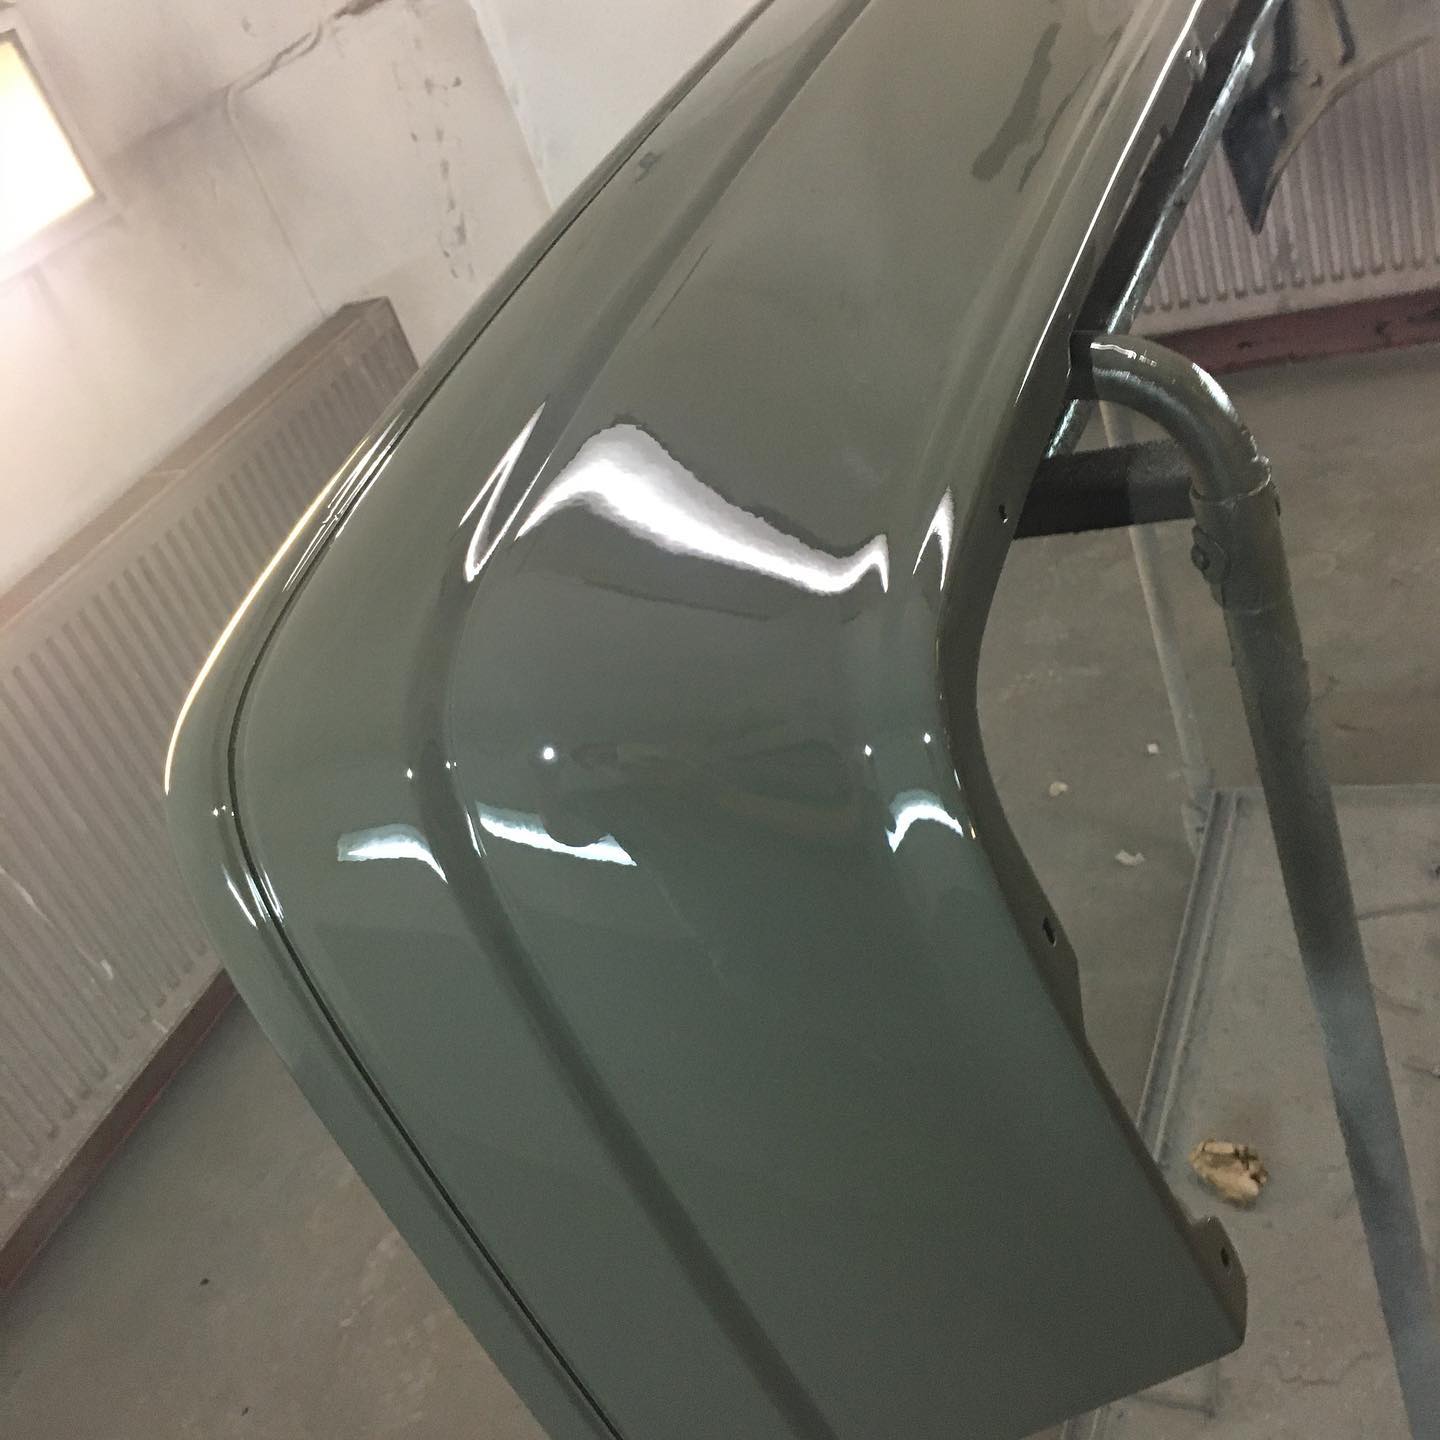
- Flat and polish – once it’s cured, the panel gets wet-sanded and machine-polished to a smooth, mirror finish.
Done properly, it’s invisible. You shouldn’t be able to spot the difference between the resprayed panel and the rest of the car.
The Colour Matching Question
This is the thing people worry about most – “will it match?” And honestly, it’s a fair question. Colour matching is the make-or-break part of any panel respray.
Every car has a paint code, usually on a sticker in the door jamb or under the bonnet. That gives me a starting point. But here’s the thing – paint fades and changes over time. A ten-year-old car’s paint won’t look the same as a fresh mix of the same code straight out of the tin.
That’s why I always check the actual colour on the car, not just the code. I’ll mix and adjust until it’s right, spray a test card, hold it against the car in daylight, and tweak it until it blends seamlessly. It takes a bit of time but it’s the difference between a job that looks right and one that sticks out.
The number one giveaway of a cheap respray is colour mismatch. You can spot it a mile off – one panel’s a slightly different shade, or it looks fine indoors but completely wrong in sunlight. Getting the match right isn’t optional, it’s the whole point.
What About Blending?
Blending is how you hide the join between new and old paint. Instead of just spraying the one panel and stopping dead at the edge, I’ll fade the new paint slightly into the neighbouring panels. It means the transition is gradual rather than a hard line.
On metallics and pearlescents this is especially important. Those paints look different depending on the angle you view them from, so even a perfect colour match can look slightly off at the edges if it’s not blended properly. Solid colours are a bit more forgiving, but blending still makes a noticeable difference.
This does mean I sometimes need to lightly clear-coat the edges of adjacent panels too. It adds a small amount to the job, but it’s what separates a proper panel respray from a patch-up.
How Much Does a Single Panel Respray Cost?
It depends on the panel, the colour, and how much prep work is needed – but as a rough guide:
- A single flat panel (door, wing, bumper) – typically a few hundred pounds
- Larger panels (bonnet, roof) – more like £400–600+ depending on the car
- Panels needing bodywork first – if there’s dent removal, filler work, or welding before paint, that adds to it
- Metallic or pearlescent colours – take longer to match and blend, so slightly more than solid colours
It’s a fraction of what a full respray costs — see my UK respray cost guide for the full picture — and for isolated damage it makes way more sense. No point spending thousands when a few hundred sorts the problem.
When a Panel Respray Isn’t Enough
There are times when respraying one panel won’t cut it. If the rest of the car’s paint is in rough shape – fading, lacquer peeling everywhere, multiple panels with damage – then spraying one panel to perfection just makes everything else look worse by comparison.
In that situation I’d usually suggest either doing a few panels together, or going for a full restoration respray if the whole car needs it. It’s about getting the best result for the money, not just fixing one spot in isolation.
Same goes for colour changes. If you want a different colour on one panel… well, that’s just going to look odd. Colour changes are a full-car job.
Can You DIY a Panel Respray?
Can you? Technically, yes. Should you? Probably not – unless you’re not too bothered about the finish and you’re happy experimenting on a project car.
Rattle-can resprays from Halfords look exactly like what they are. The paint goes on uneven, the colour match is usually way off, you get runs and orange peel, and the clear coat never blends properly. I’ve lost count of the number of cars I’ve had to strip back and redo because someone’s had a go with a spray can first.
If you want it to look right, it needs to be done in a spray booth with proper equipment, proper paint, and someone who knows how to colour match and blend. That’s not me being snobby about it – it’s just the reality of how paint works.
Got a Panel That Needs Doing?
If you’ve got a scratched door, a dented wing, a scuffed bumper, or any panel that needs freshening up – just get in touch. I’m based just outside Milton Keynes in Wicken, and I get cars coming in from Buckingham, Northampton, Towcester, and all round the area for this kind of work.
Send me a couple of photos on WhatsApp and I’ll give you an honest idea of what’s involved and what it’ll cost. No obligation, no messing about.