1951
Chevrolet
3100
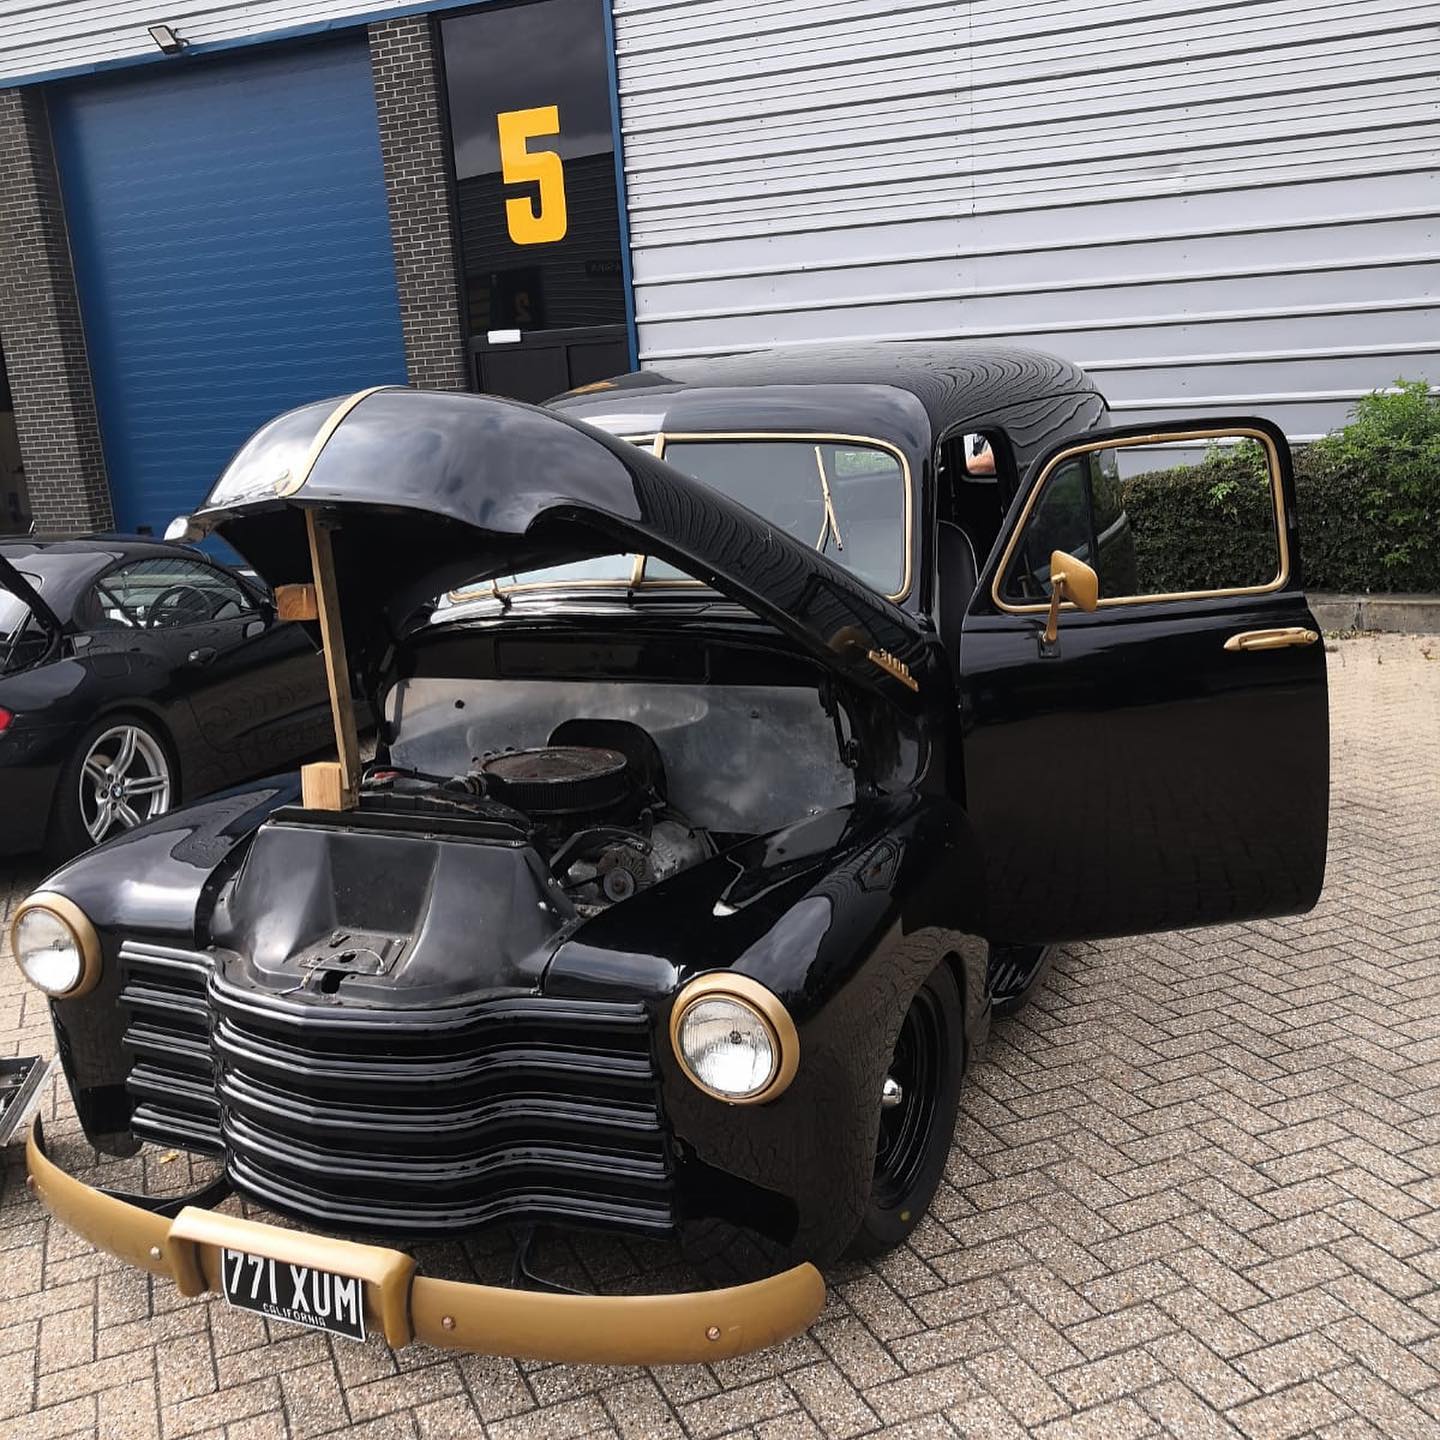
Panel Van · Paint Correction & Bonnet Respray
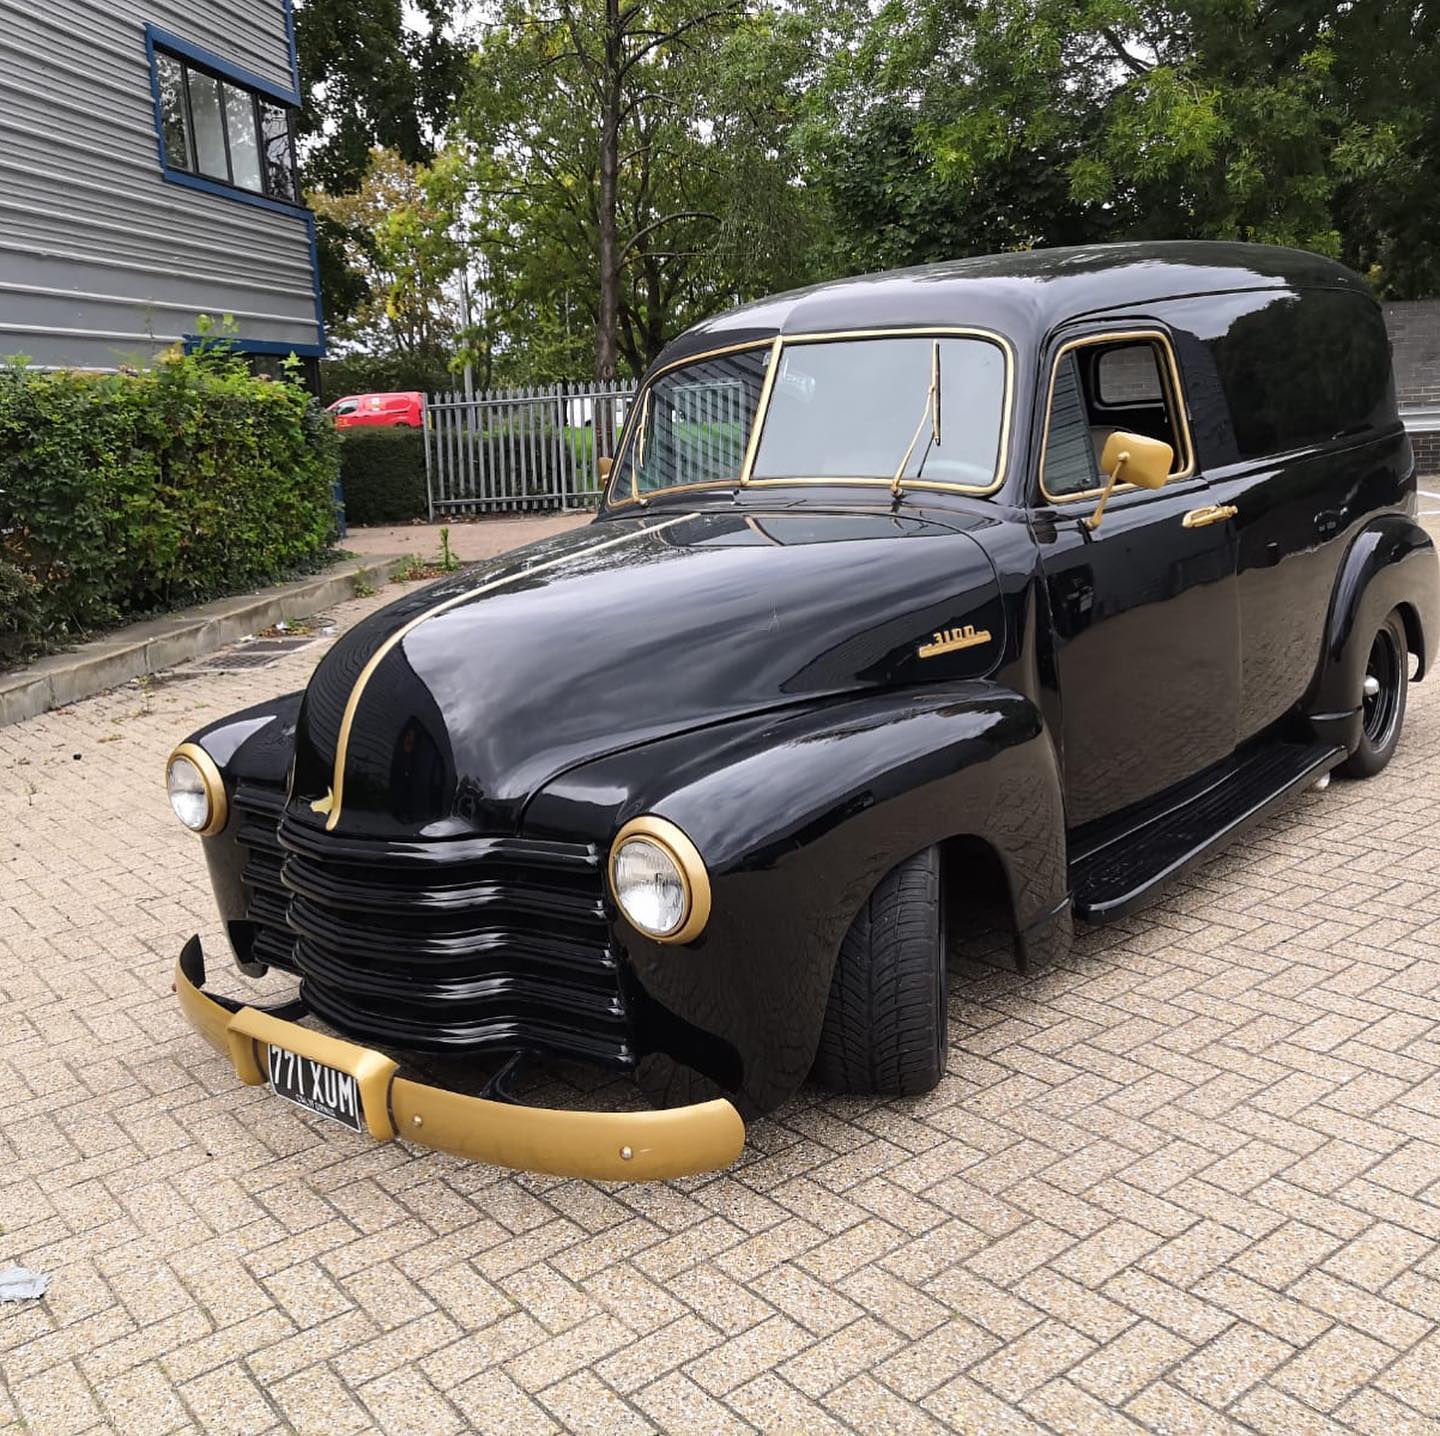
A full paint correction and bonnet respray on a 1951 Chevrolet 3100 Panel Van, completed at our bodywork shop near Milton Keynes. Old blistering paint was stripped back entirely, dents worked out by hand, and the body brought to a flawless standard before being finished in deep gloss black with gold accent detailing.
Project
Overview
What We Found
- Old paint heavily blistered due to water sitting beneath the surface
- Multiple areas of old body filler covering dents that hadn't been properly worked out
- Low spots across various panels requiring full guide coat flatting to identify
- Dents throughout the body needing hammer and dolly work before any primer could be applied
This 1951 Chevrolet 3100 Panel Van was brought to our workshop near Milton Keynes needing paint correction and a bonnet respray. The existing paintwork had failed – old paint had allowed water to get beneath the surface, causing widespread blistering across the bodywork. There was no salvaging what was there; it all had to come off.
"The old paint was blistering due to water – it all had to come off before we could even start assessing what was underneath."
Once stripped, the body revealed what's fairly typical on cars of this age – previous owners had covered dents with filler rather than working the metal back into shape. We removed all of that old filler, carried out full dent removal and bodywork repairs, and started the preparation process from a solid, clean foundation.
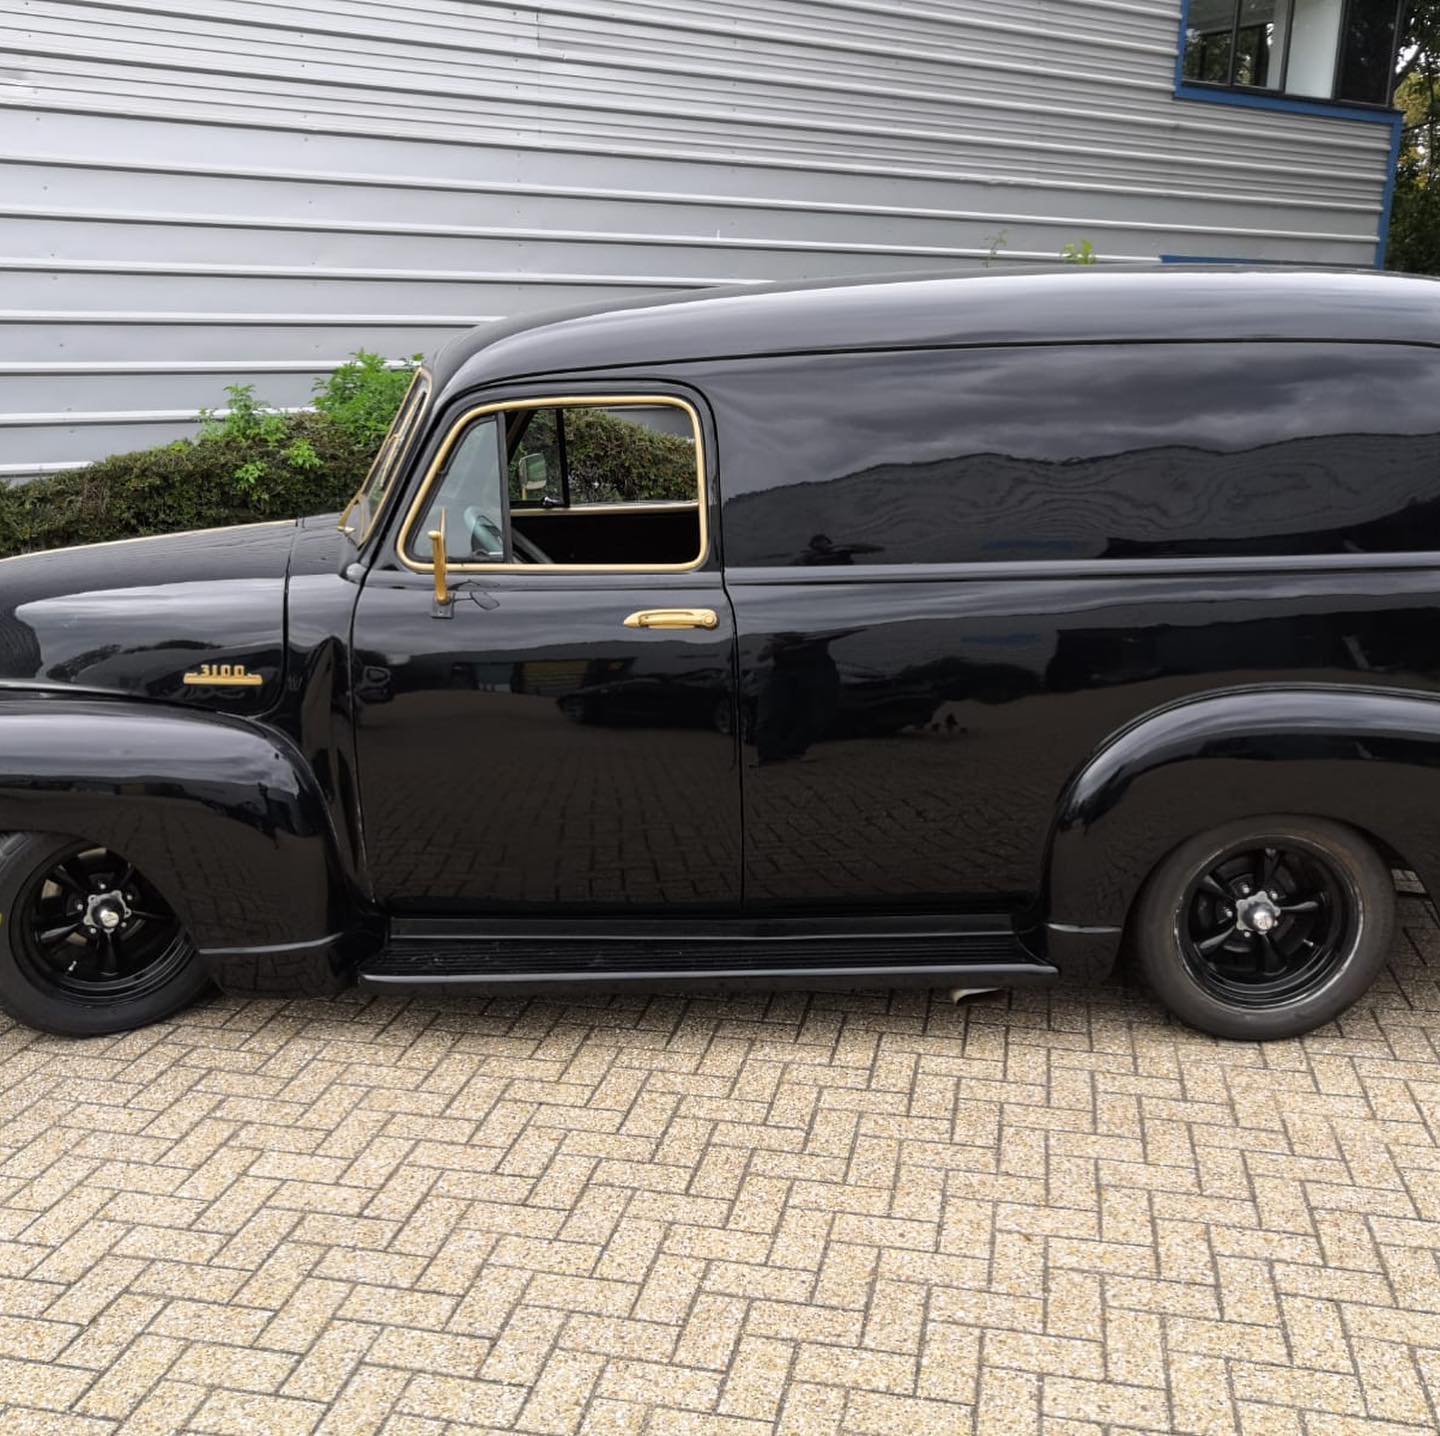
The goal was a show-quality gloss black finish with gold accent detailing on the window surrounds, door handles, and bumpers – a combination that demanded a flawless base. Every stage of the prep process was carried out with that end result in mind.
Step by Step
Full Paint Strip
All old paintwork was removed using chemical paint stripper. The existing paint had water trapped beneath it, causing widespread blistering – there was no option but to take everything back to bare metal before any assessment or repair work could begin.
Dent Removal – Hammer & Dollies
With the paint gone, dents across the body were worked out using hammers and dollies. Old body filler from previous repairs was removed – previous owners had covered dents without addressing the metal underneath, which is common on cars of this era but not something we leave in place.
Two Coats of Epoxy Primer
Two coats of epoxy primer were applied to the bare metal to seal the surface and provide a stable base for the filler and blocking stages ahead.
Guide Coat, Filler & Block Sand
The primed panels were sanded at 180 grit using a guide coat to reveal any remaining low spots. All lows were addressed with filler work, then a sealer coat of epoxy was applied to lock the filler in. The body was then blocked through 180, 320, and 500 grit to achieve a perfectly flat, straight surface ready for paint.
Direct Gloss Black
With the body fully prepped and straight, the vehicle was painted in direct gloss black – delivering exceptional depth and clarity straight from the gun, and forming the foundation for the flatting and polishing stages that followed.
Wet Sand & Machine Polish
The painted panels were wet sanded through 1500, 2000, and 3000 grit to level the surface completely. The car was then machine polished with 3M Fast Cut Plus cutting compound to remove sanding marks, followed by Roar 620 Extreme Fine Cut to refine the finish to a deep, mirror-like gloss.
Photography

Results & Finish
Mirror-Flat Gloss Finish
Seven stages of sanding and two stages of machine polish – from 180 grit prep right through to Roar 620 Extreme Fine Cut – produced a finish with genuine show-car depth and clarity.
Properly Prepared Foundation
Every dent was worked out in metal before any filler was applied, and every filler stage was sealed with epoxy – built to last, not just to look good on day one.
No Shortcuts
Finding old filler over unworked dents is expected on cars of this age. We removed it all, addressed the metal properly, and built the paint system up correctly – the only way to guarantee a lasting result.
Build
Details
Got a Classic
That Needs Work?
Whether it's a full structural restoration, a custom respray, or targeted bodywork and rust repair – we work on classics and moderns at our workshop near Milton Keynes. Get in touch, tell us about your vehicle, and we'll give you an honest assessment and a clear quote.